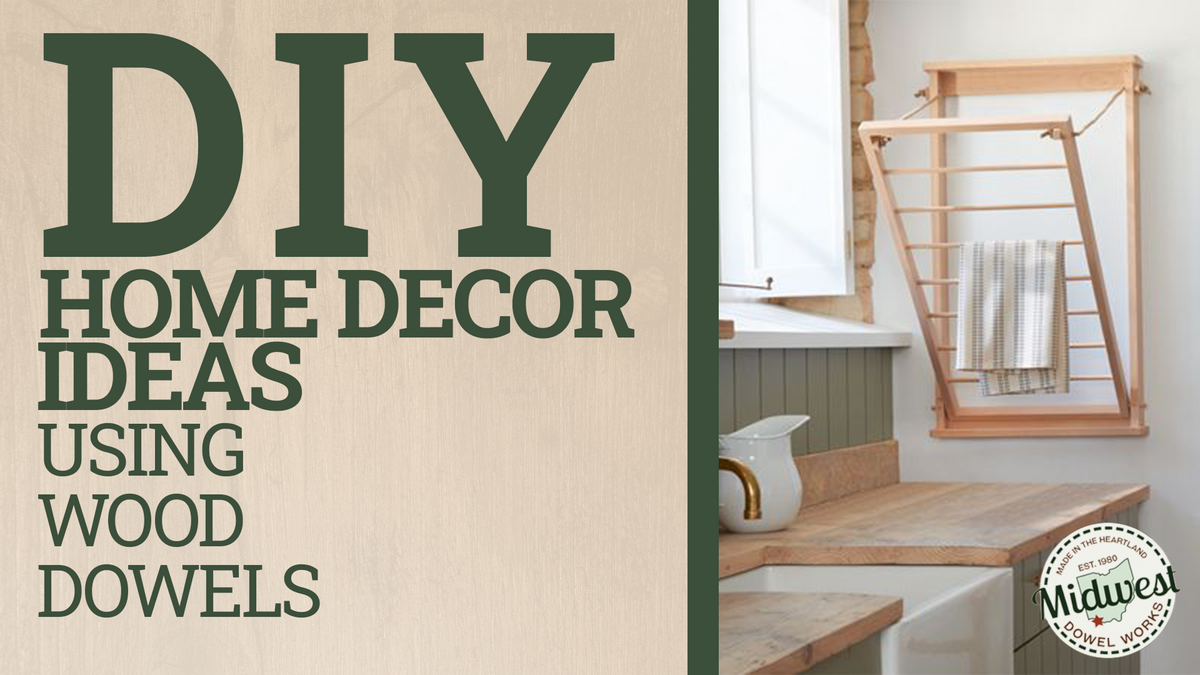
DIY Home Decor Ideas Using Wood Dowels
When it comes to DIY projects, wood dowels are a fantastic choice for adding stability and strength to your crafts. These cylindrical rods offer numerous benefits that make them a favorite among crafters.
First and foremost, wood dowels provide excellent stability to your projects, ensuring that they will withstand the test of time. Whether you're building a picture frame, a wall art piece, or even a furniture piece, incorporating wood dowels will add that extra level of durability.
In addition to stability, wood dowels offer incredible strength and versatility. When properly glued or screwed in place, they create a strong bond that can handle weight and pressure. This makes them perfect for constructing shelves, coat racks, and other functional pieces.
In this post, we will take a look at some of the top DIY home decor you can build using wood dowels. Keep reading to discover the best applications of wood dowels for your home!
Popular DIY Projects Using Wood Dowels
Wood dowels are a versatile and affordable material that can be used in a wide range of DIY projects. From simple home decor accents to functional furniture pieces, wood dowels can add a touch of style and stability to your creations. In this article, we will explore some popular DIY projects that you can easily make using wood dowels.
With their stability, strength, versatility, and affordability, wood dowels are an excellent choice for various DIY projects. Whether you're a seasoned crafter or a beginner, these popular DIY ideas will inspire you to create beautiful and functional decor pieces using wood dowels. Keep reading to get inspired!

Picture Frames
Creating your own DIY picture frames using wood dowels is a fun and customizable project that adds a personal touch to your home decor.
Follow these simple steps to create your own unique picture frames:
1. Measure and Cut: Start by measuring the dimensions of your desired frame size. Using a miter saw or a hand saw carefully cut the wood dowels to the correct length. Make sure to cut four pieces to create a square or rectangular frame.
2. Assemble the Frame: Apply a small amount of wood glue to the ends of the dowels and press them together, forming a square or rectangular shape. Use a nail gun with small finishing nails to secure the joints for extra stability.
3. Finishing Touches: Once the glue has dried, sand any rough edges or uneven surfaces of the frame. You can then leave the natural wood finish or paint the dowels in your favorite colors using acrylic or spray paint. Apply a clear sealant or varnish to protect the wood and add a polished look.
4. Insert the Picture: Carefully remove the back of the frame and insert your desired canvas or photo. Replace the back, ensuring that it is secure and flush with the frame.
By following these steps, you can create beautiful and personalized picture frames using wood dowels. Get creative and experiment with different caplet sizes and colors to match your unique style and home decor.
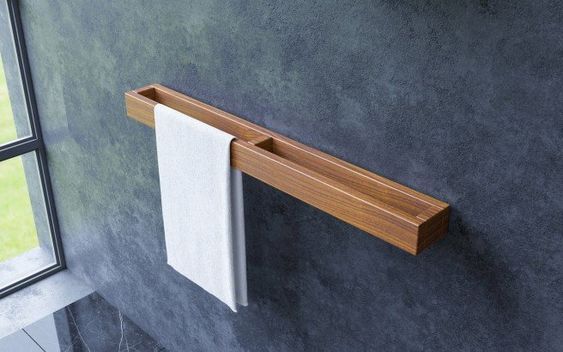
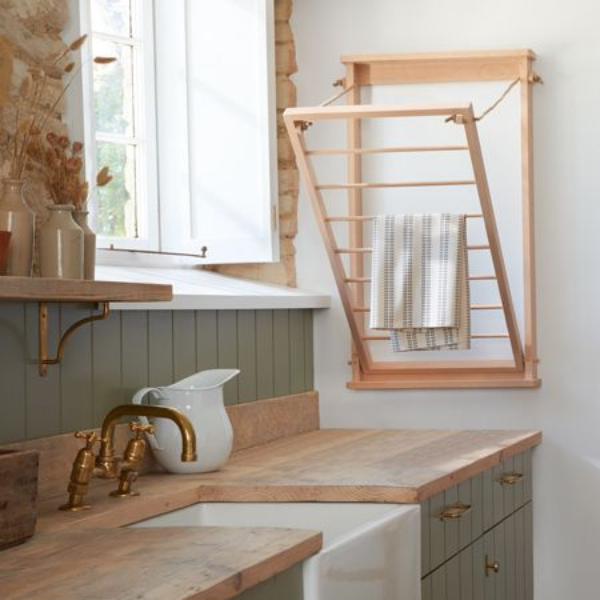
Towel Holders
Towel holders are a functional and stylish addition to any laundry room. Wood dowels can be used in various ways to create custom towel holders that fit your needs.
Here are a few ideas:
1. Wall-mounted Towel Holder: Using wood dowels, create a wall-mounted towel holder by measuring and cutting the dowels to your desired length. Attach the dowels to the wall using wall anchors and screws. You can space them apart to accommodate different towel sizes. This is a great option for small laundry rooms with limited space.
2. Cabinet-mounted Towel Holder: If you have laundry cabinets in your laundry room, you can use wood dowels to create additional hanging space. Install closet rod hardware underneath the cabinets and insert the dowels into the hardware. This allows towels to be hung neatly and conveniently.
3. In-wall Drying Rack: For a space-saving solution, consider building an in-wall drying rack using dowel rods. Cut the dowel rods to your desired length and mount them horizontally between two walls. This creates a sturdy framework for hanging wet laundry to dry. When not in use, the dowel rods can be folded up against the wall to save space.
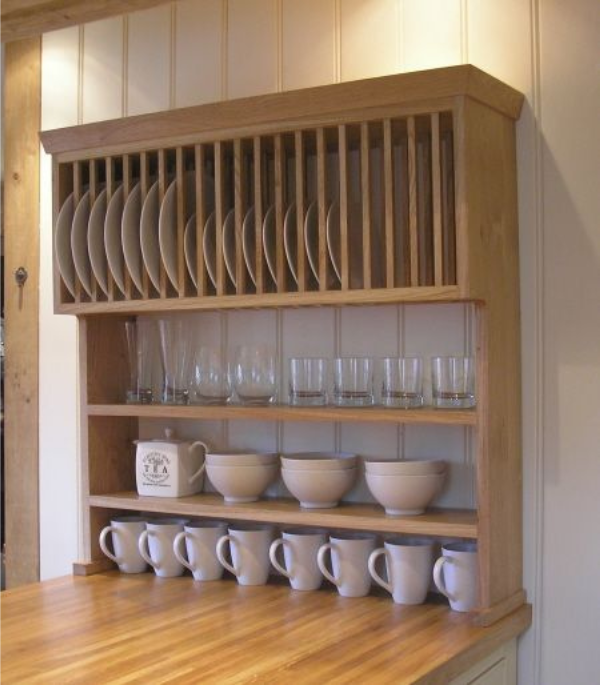
Dish Display Rack
To build the Dish Display Rack, you will need a few materials including wooden dowels, plywood, a drill, a saw, wood glue, and a sander.
- Measure and Cut: Begin by cutting the plywood into desired dimensions for the base and sides of the rack. Use a sander to smooth any rough edges.
- Assemble the Frame: Once the pieces are cut and sanded, it's time to assemble the rack. Apply wood glue to the edges of the plywood strips and press them together, creating a sturdy frame. Allow the glue to dry completely.
- Create Dowel Holes: Next, mark and drill holes on the sides of the frame where the dowels will be inserted. The spacing of the holes will depend on the size of your dishes.
- Insert Dowels: Insert the wooden dowels into the drilled holes, ensuring a snug fit. The dowels will serve as the resting place for your dishes.
The Dish Display Rack is now ready to be used! Showcase your favorite dishes in a stylish and organized manner. This DIY project is not only functional but also adds a touch of charm to your kitchen decor.
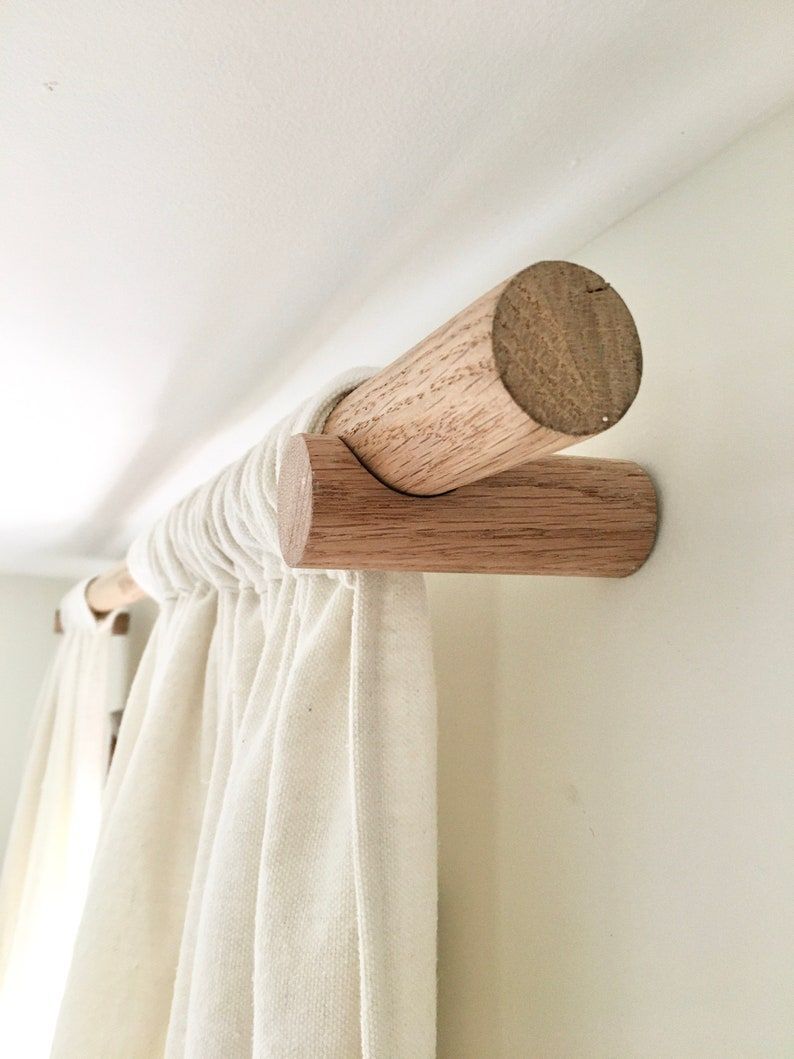
Curtain Rod
Creating a DIY curtain rod using wood dowels is not only a budget-friendly option but also a fun and customizable project.
Here's how you can easily make your own curtain rod using wood dowels.
- Start by determining the length of dowel rod you will need. We recommend 1 ¼" dowel rods. Measure the width of your window and add a few inches on each side to allow for the curtain to hang properly.
- Next, choose the type of wood dowel you prefer. You can find dowel rods in various diameters and finishes to match your decor style.
- Once you have your dowel rod, cut it to the desired length using a saw. Make sure to cut it straight for a professional-looking result.
- To securely mount the curtain rod, attach supports to a stud in the wall or to the side of a cabinet box. This will ensure that the weight of the curtains is properly supported.
- Finally, insert the cut dowel rod into the supports and hang your curtains. You can also add decorative finials or paint the dowel rod to match your room's aesthetic.
Creating a DIY curtain rod using wood dowels is not only cost-effective but also allows you to customize the design to fit your style perfectly. Give it a try and enjoy stylish curtains without breaking the bank!

Coat Rack
Coat racks are one of the most useful and stylish hanging accessories that you can make at home. They are often made from just a few materials, including spindles and dowels, and can be assembled using tools that are found in most homes.
Here are some ideas for different kinds of coat racks you can build using shaker pegs.
- Traditional Coat Rack: Traditional coat racks are a classic and stylish piece of home décor that fits in any home. For those seeking a minimalistic style all you need is a long spindle, some screws, and the shaker pegs of your choice. You can make your coat rack any way you want and add paint or varnish for a finishing touch!
- Wall Coat Rack: If you are looking for a coat rack that blends in, consider a wall coat rack. All you need is a peg board, a few screws, and your choice of shaker pegs. The wall coat rack takes up minimal space and is a perfect way to stylishly hand coats, jackets, and other accessories.
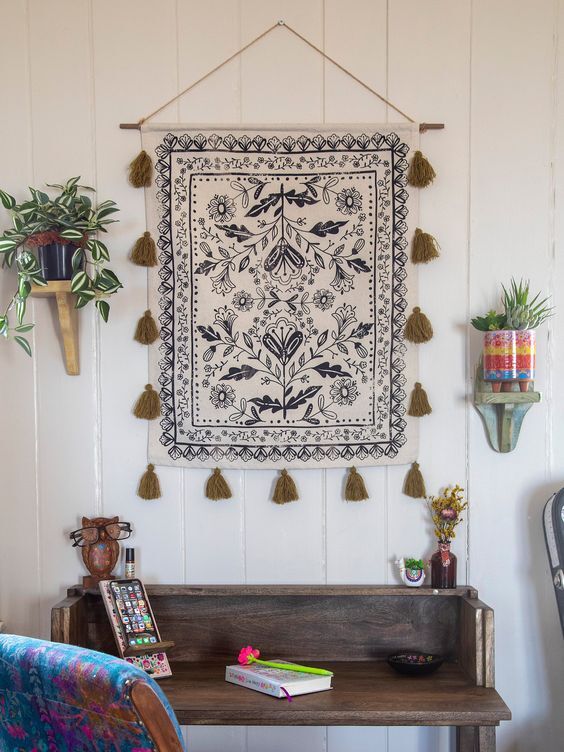
Wall Tapestry
Creating a wall tapestry using wood dowels is a fun and creative way to add a unique and personalized touch to your home decor. With just a few materials and some basic crafting skills, you can easily create a beautiful tapestry that will enhance the aesthetic appeal of any room.
- To start, gather the materials you'll need. This includes wood dowels of various lengths, fabric of your choice, glue or thread, and any additional decorative elements you wish to incorporate.
- Next, attach the fabric to the dowels. You can do this by applying glue along the length of the dowels and pressing the fabric onto it. Alternatively, use a needle and thread to stitch the fabric securely to the dowels.
- Once the fabric is attached, you can start adding your own personal touches. Consider embellishing the tapestry with caplets, lace, beads, or even embroidery. Experiment with different textures and colors to create a captivating design.
Don't be afraid to get creative with your wall tapestry. You can try different weaving techniques, such as knotting or macrame, to add depth and visual interest to your piece. Play around with the placement of the dowels and fabric to achieve the desired look.
By following these simple steps and using your creativity, you can create a stunning wall tapestry using wood dowels that will become a focal point in any room.
Plant Support
Are your plants in need of some support? Look no further than wood dowels for your DIY plant support projects.
Here are a few ideas to get you started:
- Trellis: Create a trellis for your vining plants using wood dowels. Simply attach the dowels vertically and horizontally to form a grid-like pattern. This will provide support for your plants to climb and grow.
- Stake: Use wood dowels as stakes to support taller plants that need extra stability. Insert the dowels into the ground near the plants and tie them with jute twine or other materials to keep the plants upright.
- Hoop Supports: For plants that need a bit of protection, such as delicate flowers or vines, consider making hoop supports using wood dowels. Bend the dowels into an arch shape and secure them in the ground to create a protective covering that can be draped with netting or row covers.
To assemble these plant supports, simply cut the wood dowels to the desired length using a saw and secure them using wood glue or screws. If desired, you can paint or stain the dowels to match your garden decor or add a pop of color. With these DIY wood dowel plant supports; your garden will not only thrive but also look aesthetically pleasing.
Wood Dowels for Your DIY Home Crafts from Midwest Dowel
Wood dowels are an essential part of any home DIY project. Dowels are strong and versatile meaning that they can be used for home crafts in many different ways.
Which of the ideas above inspired you? How will you use wood dowels in your next great home DIY craft project?
If you are looking for the best wood dowels to use during your next DIY project, then Midwest Dowel has you covered. We are here for all your home wood dowel needs and we are proud to ship the products you want right to your doorstep.
We want to see your projects! Enter for a chance to win ***promo MWD decides on***! Just post your project on Facebook or Instagram, follow Midwest Dowel, and tag us for a chance to win!
Looking for the best wood dowels for home crafts? Shop Midwest Dowel today!
For more DIY wood dowel tips, follow Midwest Dowel on Facebook, Instagram, Twitter, and Pinterest!
Happy with the Midwest Dowel difference? Leave us a five-star review here!